How to Fix an Inflatable Water Slide: Step-by-Step Repair Guide (With Photos)
Why Water Slide Repairs Are Different from Bounce House Repairs
If you've been repairing bounce houses and assume the same kit and method will work on your water slides, you're going to get callbacks. Water slide repairs fail at a higher rate — not because operators are doing it wrong, but because the conditions are fundamentally different.
Standard bounce house repairs happen on PVC that sits in dry air, gets compressed foot traffic, and dries between uses. Inflatable water slides face a different set of stresses: constant water flow across the slide lane, UV exposure on the outer shell, and the friction generated by riders at speed. Water actively works against adhesive bonds, especially during cure. UV degrades the surface energy of PVC over time, making adhesion harder. And the slide lane itself — the long trough riders travel down — absorbs far more friction load than a bounce floor.
The result: patches applied with standard cement and a 30-minute cure window will lift within a few rentals. You need a stronger adhesive, longer cure time, and in many cases, thicker patch material.
What's in a Water Slide Repair Kit (and What to Add)
A commercial-grade inflatable water slide repair kit typically includes:
- PVC patch material (usually 0.55mm–0.65mm thickness)
- Two-part contact cement or vinyl-specific adhesive
- MEK or acetone-based surface cleaner
- Seam roller or brayer
- Sandpaper (120-grit for surface prep)
- Applicator brush
For water slide repairs specifically, you should supplement any standard kit with:
- Thicker patch material (0.65mm–0.9mm) for slide lane repairs, where friction loads are highest
- Waterproof two-part PU adhesive instead of standard contact cement, which can re-soften under prolonged water exposure
- Heat gun — accelerates cure and improves bond on thicker material
- Reinforced seam tape for water connection points
You can source supplemental patch material and accessories through our accessories catalog. For a deeper look at how PVC formulations affect durability, see our breakdown of PVC vs Oxford Cloth material properties.
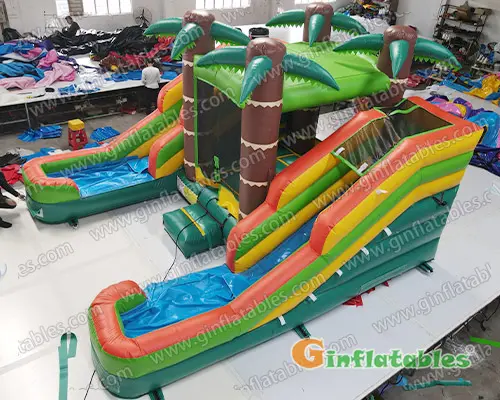
Common Water Slide Damage Types
- Slide lane tears — Linear cuts or punctures in the high-friction trough. Most common repair scenario.
- Seam separation at water connection points — High-stress zone due to water pressure cycling.
- Outer shell abrasion — Rubbing against rough surfaces during setup/teardown.
- Pool bladder leaks — Constant water pressure in the splash pool section.
- Baffle/air column failures — Internal chamber separation. Typically a replace-or-send-back situation.
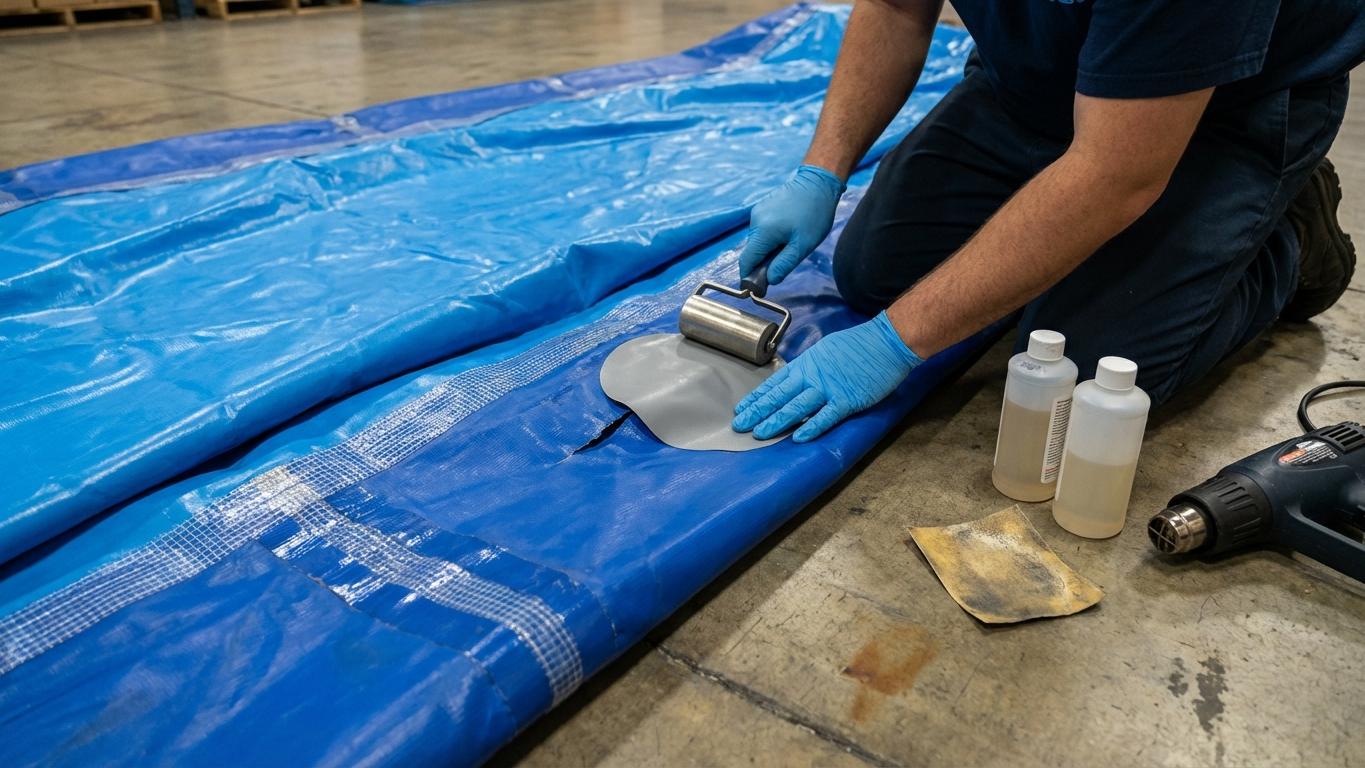
Step-by-Step: Patching a Slide Lane Tear
- Fully deflate and dry the unit. Minimum 2 hours dry time; 4 hours in humidity above 70% RH.
- Cut the patch to size. Extend at least 2 inches beyond the tear in all directions. Round all corners.
- Prep the surface. Wipe with acetone or MEK. Sand lightly with 120-grit. Wipe clean again. Do the same to the patch back.
- Apply adhesive to both surfaces. Thin, even coat of PU adhesive. Allow to tack for 5–8 minutes. In temperatures below 60°F, extend tack time by 3–5 minutes.
- Bond and roll. Press firmly from center outward. Use a seam roller to eliminate air pockets.
- Apply heat. Heat gun at 150–170°F held 4–6 inches from surface. 60–90 seconds per pass, two passes.
- Clamp or weight for cure. Apply even pressure for minimum 4 hours.
Step-by-Step: Fixing a Seam Leak at Water Connections
- Locate the leak precisely. Inflate partially (60–70%) and listen for air loss. Mark with grease pencil.
- Deflate fully and dry. Same protocol — fully dry, minimum 2 hours.
- Clean and open the seam edge. Clean both sides with acetone. Remove any failed factory seam tape.
- Apply seam adhesive to both faces. Gel-viscosity adhesive gives better gap-fill. Allow to tack.
- Press, roll, and clamp the seam closed.
- Apply reinforced seam tape over the repair. Cover full repair length plus 1.5 inches overlap on each end. Heat-activate.
- Cure under pressure. 6 hours minimum before pressure testing.
Cure Times and Re-Testing Before Rental Use
| Repair Type | Min Cure (70°F+) | Cool Conditions (<60°F) | Full Cure |
|---|---|---|---|
| Slide lane patch (PU) | 4 hours | 8 hours | 24 hours |
| Seam repair at water connection | 6 hours | 12 hours | 24–48 hours |
| Pool bladder patch | 8 hours | 16 hours | 48 hours |
Re-testing: inflate to full pressure for 15 minutes, run water at operating flow for 5 minutes, then apply 150–200 lb load simulation. Log the repair in your maintenance record. For a broader maintenance system, see our inflatable repair kit and blower maintenance playbook.
When to Replace Instead of Repair
- Widespread surface chalking or crazing from UV degradation
- More than 3 patches within 12 inches of each other on the slide lane
- Seam separation across more than 40% of a water connection seam
- Internal baffle or air column failure
- Any structural tear near anchor points
If your unit is approaching end-of-life, use the downtime to evaluate your next purchase. Our full inflatable cleaning and maintenance guide covers condition assessment criteria for retirement decisions.