Inflatable Repair Kit and Blower Maintenance Playbook for Rental Fleets
A torn seam on Friday night costs more than the patch to fix it. It costs Saturday's booking — $250–$400 gone, plus the refund, the apology, and the review you'll wish you hadn't earned. Rental operators who treat maintenance as an afterthought lose 10–15% of seasonal revenue to preventable downtime.
This guide covers the two things that keep your fleet running: repair kits for when PVC fails, and blower maintenance for when airflow drops.
Your Repair Kit: What to Carry and How to Use It
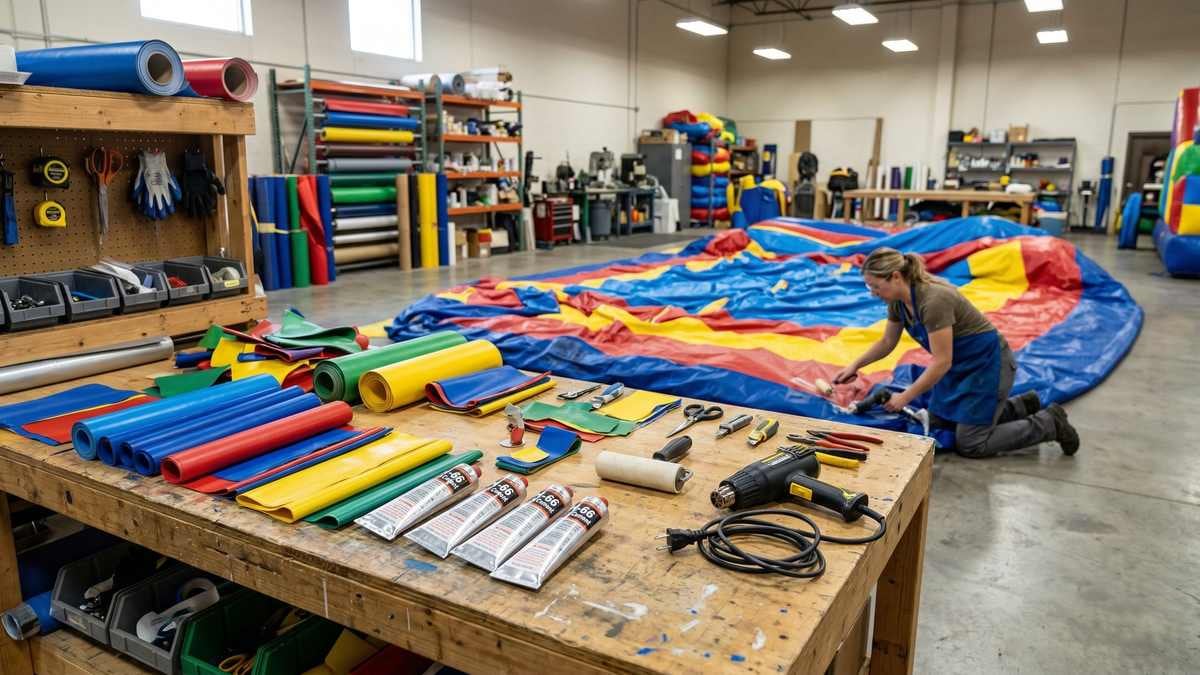
Every delivery vehicle needs a repair kit. Not in the warehouse — in the truck. Here's what goes in it:
| Item | Purpose | Qty | Cost |
|---|---|---|---|
| PVC vinyl patches (18oz, multiple colors) | Cover tears and punctures | 10+ pieces | $15–$25/set |
| PVC vinyl cement / HH-66 | Cold-weld adhesive for field repairs | 2 tubes | $8–$12 |
| Heat gun (1500W+) | Hot-weld patches for permanent seam repair | 1 | $25–$40 |
| Roller tool | Press patches flat, remove air bubbles | 1 | $5–$10 |
| Scissors (heavy-duty) | Cut patch material to size | 1 pair | $8 |
| Rubbing alcohol + rags | Clean surface before patching | 1 bottle | $3 |
| Soapy water spray bottle | Locate small leaks (bubble method) | 1 | $2 |
| Duct tape (temporary only) | Emergency field fix — holds for 1 event max | 1 roll | $5 |
Total kit cost: under $120. Pays for itself the first time you save a Saturday booking.
Cold Patch vs Hot Weld: When to Use Each
Cold patch (PVC cement / HH-66) works for punctures under 3 inches and surface abrasions. Clean the area with alcohol, apply cement to both the patch and the damaged surface, wait 60 seconds until tacky, press firmly, and roll out air bubbles. Cure time: 4–6 hours before inflation. Good enough for most field repairs.
Hot weld (heat gun) is the permanent fix for seam failures and tears longer than 3 inches. Cut a patch 2 inches larger than the tear on all sides. Heat the patch and surface to 350–400°F — the PVC should get glossy but not bubble. Press immediately and roll. This creates a molecular bond nearly as strong as the original material. Do this in the shop, not on-site.
Common Damage Points
- Base corners — highest stress from repeated staking and ground friction. Inspect every 20 setups.
- Seam lines along the bounce floor — foot traffic concentrates here. Double-stitched seams last longer, but even they wear.
- Slide surfaces — friction from sliding generates heat. Check for thinning vinyl at the midpoint of the slide run.
- Blower tube attachment — constant air pressure stresses this junction. Reinforce proactively with an extra patch ring.
- Netting and mesh panels — not PVC, so standard patches don't work. Carry replacement mesh and a sewing kit for emergency stitching.
Bounce House Blower Troubleshooting
The blower is the heart of every inflatable. A dead or weak bounce house blower means a flat unit and a cancelled event. Here's the diagnostic flowchart for the three failure modes:
No Airflow at All
- Check power source — is the outlet live? Test with a phone charger or lamp.
- Check the extension cord — 12-gauge minimum for blowers. Undersized cords cause voltage drop and motor failure.
- Check the GFCI — outdoor outlets trip frequently. Reset it.
- Inspect the power cord for damage — rodent chews, cuts, frayed connections at the plug.
- If power is confirmed and motor doesn't spin — the motor capacitor or thermal fuse is blown. Replace the blower.
Weak Airflow (Unit Won't Fully Inflate)
- Check for tears or open seams — a leak large enough to overcome the blower's output will keep the unit soft. Inflate and listen/feel for escaping air.
- Clean the intake filter — dust, grass, and debris clog the blower intake within 20–30 setups. Pop off the intake guard and clear it.
- Verify blower CFM matches unit size — a 1 HP blower (roughly 1,000–1,200 CFM) handles a standard 13×13 bouncer. Larger units (15×15 combos, water slides, obstacle courses) need 1.5–2 HP (1,500–2,400 CFM).
- Check the blower tube connection — air leaking at the tube-to-unit junction is common. Secure with a zip tie or Velcro strap, and check for tube tears.
Unusual Noise (Grinding, Rattling, Whining)
- Grinding — bearing failure. The motor bearings are wearing out. Replace the blower within 1–2 weeks before it seizes completely.
- Rattling — loose housing screws or debris inside the fan cage. Unplug, open the housing, remove debris, tighten screws.
- High-pitched whine — motor running hot. Check for restricted airflow at intake. If the motor is overheating, let it cool 30 minutes and check for obstructions. Persistent whine means the motor windings are degrading — budget for a replacement.
Blower Selection: Matching CFM to Unit Size
| Unit Type | Blower Size | CFM Range | Price Range |
|---|---|---|---|
| Small bouncer (10×10, 13×13) | 1 HP | 1,000–1,200 | $120–$180 |
| Standard bouncer (15×15) | 1.5 HP | 1,400–1,600 | $150–$220 |
| Combo unit with slide | 1.5 HP | 1,400–1,600 | $150–$220 |
| Large water slide (18ft+) | 2 HP | 1,800–2,400 | $200–$300 |
| Obstacle course (40ft+) | 2× 1.5 HP | 2,800–3,200 total | $300–$440 |
Underpowering a unit by even 0.5 HP creates a noticeable sag when riders jump. Overpowering by 0.5 HP wastes electricity but doesn't hurt the unit. When in doubt, go one size up.
Preventive Maintenance Schedule
Reactive maintenance costs 3–5× more than preventive. Here's the schedule that keeps fleets running:
After Every Setup
- Wipe down bounce surfaces with mild soap — removes body oil, dirt, food residue
- Visual inspection: check seams, floor, slide surface, netting
- Shake out debris before rolling
- Clean blower intake of grass and dust
Weekly (During Active Season)
- Full inflation test — inflate each unit for 15 minutes and check for soft spots or slow leaks
- Inspect all anchor points, D-rings, and stake loops
- Test every blower under load — listen for noise changes
- Check extension cords for fraying or heat damage
Monthly
- Deep clean with inflatable-safe disinfectant (avoid bleach on PVC)
- Inspect and reinforce any wear spots with preventive patches
- Lubricate blower bearings if accessible (some sealed units skip this)
- Inventory check: repair kit supplies, spare blower, stakes, straps
Seasonal (Before Storage)
- Full wash and complete dry — moisture causes mold in storage
- Repair all pending damage before storing (it gets worse over winter)
- Treat PVC with UV protectant spray
- Store in a dry, climate-controlled space. Never on concrete floors — use pallets or shelving
- Run each blower for 10 minutes to verify before shutting down for the season
Spare Parts Inventory Strategy
For fleets of 20+ inflatable units, keep these on hand:
- 2 spare blowers (1× 1 HP, 1× 1.5 HP) — covers 80% of your fleet in an emergency
- PVC patch material — 1 yard in each color your fleet uses (white, blue, red, yellow, green)
- 3 bottles HH-66 vinyl cement
- 20 ground stakes (18-inch) — they bend and break on rocky soil
- 10 sandbags — for concrete/asphalt setups where stakes aren't possible
- 5 extra blower tubes — different diameters for different units
- Replacement mesh netting — 2 panels, pre-cut to your most common unit size
Track your parts usage monthly. If you're burning through more patches on a specific unit, that unit is approaching end-of-life. At some point, patching costs more than the revenue it generates — and that's when you replace with a fresh commercial-grade unit.
Frequently Asked Questions
What should be in a bounce house repair kit?
PVC patches in matching colors, HH-66 vinyl cement, a heat gun for permanent seam repairs, a roller tool, heavy-duty scissors, rubbing alcohol, and a soapy water spray bottle for leak detection. Total cost: under $120.
How do I find a leak in a bounce house?
Inflate the unit fully, turn off the blower, and spray soapy water along all seams and surfaces. Bubbles form at the leak point. For larger leaks, run your hand along the surface and feel for escaping air. Mark each leak with tape before patching.
How often should I replace a bounce house blower?
Commercial blowers last 2–4 years with regular use (200+ events/year). Replace when you hear grinding, when the motor overheats repeatedly, or when inflation time noticeably increases. Don't wait for complete failure — a weak blower stresses the motor and wastes electricity.
What size blower do I need for a bounce house?
1 HP (1,000–1,200 CFM) for standard bouncers up to 15×15. 1.5 HP for combo units and medium water slides. 2 HP for large water slides and long obstacle courses. When in doubt, size up — a slightly oversized blower keeps the unit firm under heavy use.
Maintenance isn't the exciting part of running a rental fleet. It's the part that keeps the exciting part possible. A $5 patch and 20 minutes on a Tuesday saves a $350 booking on Saturday. The operators who build maintenance into their weekly routine — not their "when I get around to it" list — are the ones still running profitable fleets in year five.