

Inflatables
Inflatable Arch Replacement Banner: Measuring & Ordering
A new sponsor logo does not necessarily require a new arch. If your existing equipment has removable banner panels, a replacement can refresh the branding while retaining the structure. The purchasing problem is getting the panel to fit: an attractive print is little use when the fastening edges do not match the arch.
Before ordering a replacement banner for an inflatable arch, identify the equipment, confirm what can be replaced, and agree on a measurement method with the manufacturer. This checklist helps event rental companies and race organizers prepare that information. It is an inquiry worksheet, not a model-specific cutting pattern or installation manual.
Confirm That Your Arch Has a Replaceable Banner Panel
Start by distinguishing three arrangements: a separate removable panel, a printed cover that fits over the structure, and graphics printed directly onto the arch fabric. They require different replacement parts. A removable banner insert is not the same component as a complete interchangeable skin.
Ginflatables lists hook-and-loop and zip-in banner options in its inflatable arches category. That confirms the feature is available; it does not establish that every arch model, including an older or third-party unit, accepts the same panel.
Photograph the existing arrangement before asking for a replacement. If the branding is integral to the shell, ask the manufacturer what options are supported. Do not add attachment points or treat the inflated structure as a mounting surface without its approval.
For broader questions about arch types and initial equipment selection, use the inflatable arch buying guide. The remaining steps concern an arch you already own.
Identify the Arch Before Measuring the Banner
Find the manufacturer's name, model reference, original order number and any equipment label. Include the purchase year if known. An overall description such as “our eight-meter race arch” may help identify the item, but it does not define the dimensions of its sponsor panel.
Send an overall photograph of each face, a photograph showing the panel in its normal position, and close-ups of the attachment edges. If you operate several similar arches, assign a unit ID to each one and keep their records separate.
An old invoice or approved drawing may allow the original manufacturer to retrieve the panel specification. Treat it as a starting point: ask whether the replacement must match that revision, and flag any repairs or alterations made since delivery.
What to Measure—and What to Confirm with the Manufacturer
Ask for the measurement instructions before recording final order dimensions. The supplier should specify whether measurements are taken from a detached panel, the installed panel, or designated points on the arch. Do not assume those measurements are interchangeable.
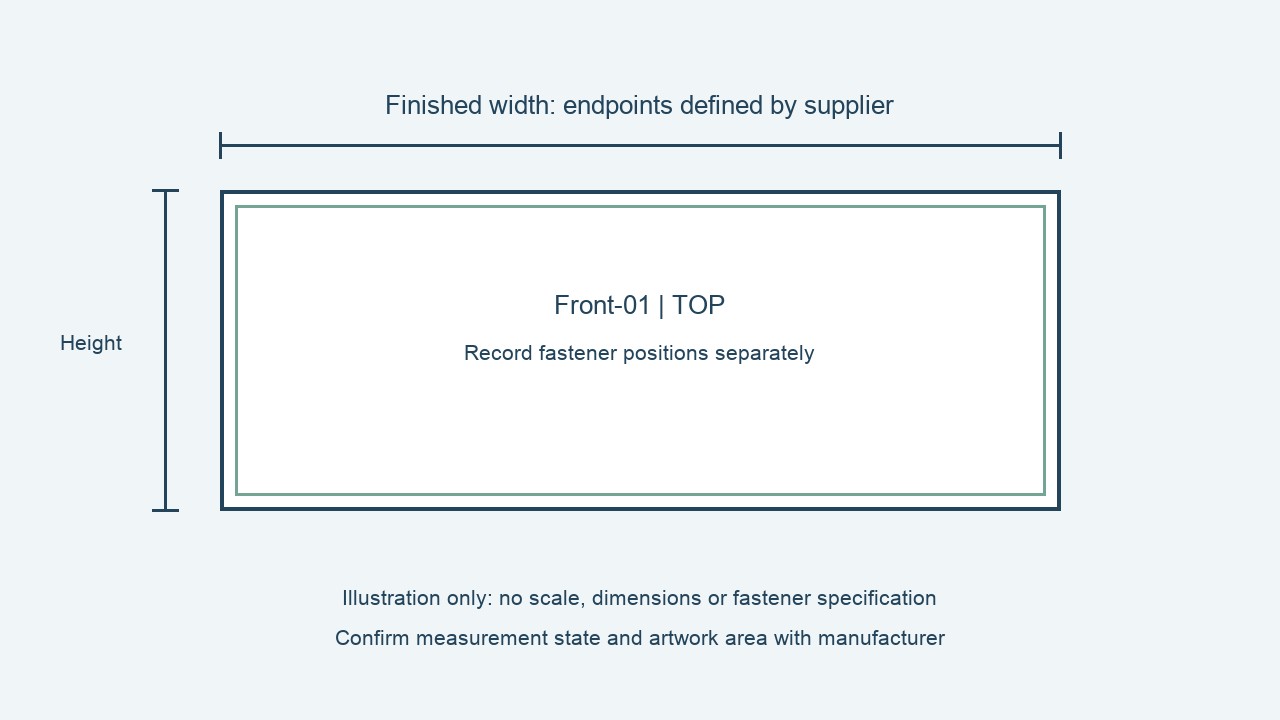
Keep the finished panel size separate from the visible artwork area and the location of its fasteners. A graphic can look correctly sized while its attachment edges are wrong. Record the units on every dimension, and identify the points between which each measurement was taken.
| Record | What the supplier needs to clarify |
|---|---|
| Finished width and height | Which outer edges define the finished part? |
| Visible graphic area | Which portions remain visible after fitting? |
| Fastening edges | Where do the mating sections begin and end? |
| Panel condition | Has the old part stretched, shrunk or been repaired? |
| Measurement state | How should the part and arch be positioned? |
An old banner may be useful evidence without being a reliable production template. Show damaged corners and distorted edges in the photographs rather than smoothing over those differences in the inquiry. Ask the manufacturer to resolve discrepancies between the old part, its records and your measurements.
Record Fasteners, Orientation and Panel Positions
A removable inflatable arch banner needs matching interfaces as well as matching dimensions. Photograph the fastening surfaces closely enough for the supplier to identify their construction and arrangement. A zipper photograph should show both the attachment route and the accessible identifying details; a hook-and-loop photograph should show which surfaces mate.
Do not assume two panels are compatible because they use the same general fastening method. Ask the supplier to confirm the actual interface and the intended installation procedure.
Define a consistent viewpoint for Front and Rear, then mark Top on each photo or drawing. Use separate IDs for separate positions. For example, Front-01 and Rear-01 are record labels, not product specifications. Keep the physical panel ID separate from the sponsor artwork version so a design revision does not change the equipment record.
Build a Replacement Banner Quote Pack
Combine the equipment reference, photographs and measurement sheet into one inquiry. Avoid sending dimensions across several message threads: the person preparing the quote needs to know which image, panel and version each number describes.
Your quote pack should include:
- Manufacturer, arch model and original order reference, where available.
- Unit ID and panel position IDs.
- Overall, installed-panel and fastener photographs.
- Measurements taken using the supplier's agreed method, with units.
- Required quantity for each physical panel and artwork version.
- Event date, delivery destination and the date by which goods must arrive.
- Any missing information, repairs or suspected changes to the original equipment.
Before production, request written confirmation of the compatible arch, finished dimensions, attachment arrangement, orientation, quantity and approved file version. Ask for the applicable delivery schedule rather than using a general arch-production lead time for a replacement part.
Artwork approval and physical fit are separate checks. A correct logo proof does not establish that the panel will attach correctly. The custom inflatable ordering guide covers the broader approval process; this replacement order needs a clear fit confirmation alongside it.
Check the Delivered Panel Against the Approved Specification
At receipt, compare the panel IDs, quantities, orientation and branding versions with the approved order. Inspect the fastening edges and record any difference before attempting a fit check.
Follow the manufacturer's instructions for trial fitting and acceptance. If the part appears mismatched, stop and send photographs showing the affected position. Do not trim the panel, alter fasteners or force a connection to make an unconfirmed part fit.
Retain the final specification, approval record and accepted-panel photographs with the arch's equipment file. The next sponsor change can then start from a documented compatible part rather than another round of identification.
For companies managing several types of commercial advertising inflatables, use the same record discipline while keeping each product's interfaces separate. The useful result is a repeatable ordering record: which panel fits which unit, in which position, using which approved specification.
Panel Record Illustration
Cover image: AI-generated editorial illustration, not a model-specific product photograph.